A clogged or grimy shower head can quietly ruin your daily routine. Reduced water pressure, uneven spray, and mineral buildup are all common signs that your shower head needs attention. The good news is that you do not need harsh chemicals or expensive tools to fix the problem. One of the most effective and affordable solutions is probably already in your kitchen. Vinegar.
Learning how to clean shower heads with vinegar is a simple, eco-friendly way to remove limescale, mineral deposits, and bacteria while restoring strong, even water flow. In this guide, we will walk through why vinegar works, how often to clean your shower head, and several step-by-step methods for different types of shower heads.
Whether you are dealing with hard water buildup or just want to keep your bathroom cleaner, this method is easy enough for anyone to follow.
Why Shower Heads Get Dirty
Before jumping into the cleaning process, it helps to understand what causes shower heads to clog in the first place.
Mineral Buildup From Hard Water
If you live in an area with hard water, minerals like calcium and magnesium can accumulate inside your shower head. Over time, these deposits harden into limescale, which restricts water flow and creates uneven spray patterns.
Soap Residue and Bacteria
Soap scum and shampoo residue can collect around nozzles, especially on modern shower heads with rubber spray holes. Moist environments also allow bacteria and mold to grow, which can affect both hygiene and odor.
Reduced Water Pressure
As buildup increases, water struggles to pass through the small openings in the shower head. This often leads people to think there is a plumbing issue when the real problem is simple buildup.
Regular cleaning prevents these issues and extends the life of your shower head.
Why Vinegar Is So Effective for Cleaning Shower Heads
Vinegar is one of the best natural cleaners for bathroom fixtures, and there are several reasons it works so well.
- Acidic properties break down mineral deposits and limescale
- Natural disinfectant helps reduce bacteria and mildew
- Non-toxic and eco-friendly compared to chemical cleaners
- Affordable and widely available in most households
White distilled vinegar is the best option for cleaning shower heads because it is clear, strong enough to dissolve buildup, and leaves minimal residue.
How Often Should You Clean Your Shower Head?
How frequently you clean your shower head depends on your water quality and usage.
- Hard water areas: Every 1 to 2 months
- Moderate water quality: Every 3 months
- Light use or filtered water: Every 4 to 6 months
If you notice reduced water pressure, spraying in odd directions, or visible white buildup, it is time to clean your shower head regardless of the schedule.
What You Will Need
Before starting, gather a few simple supplies.
- White distilled vinegar
- Plastic bag or reusable zip-top bag
- Rubber band, string, or twist tie
- Old toothbrush or soft scrub brush
- Cloth or microfiber towel
- Optional: baking soda for extra cleaning power
These items make it easy to clean your shower head without removing it, although we will cover both methods.
Many Method of How to Clean Shower Heads With Vinegar
Method 1: How to Clean a Shower Head With Vinegar Without Removing It
This is the most popular and convenient method, especially for fixed shower heads.
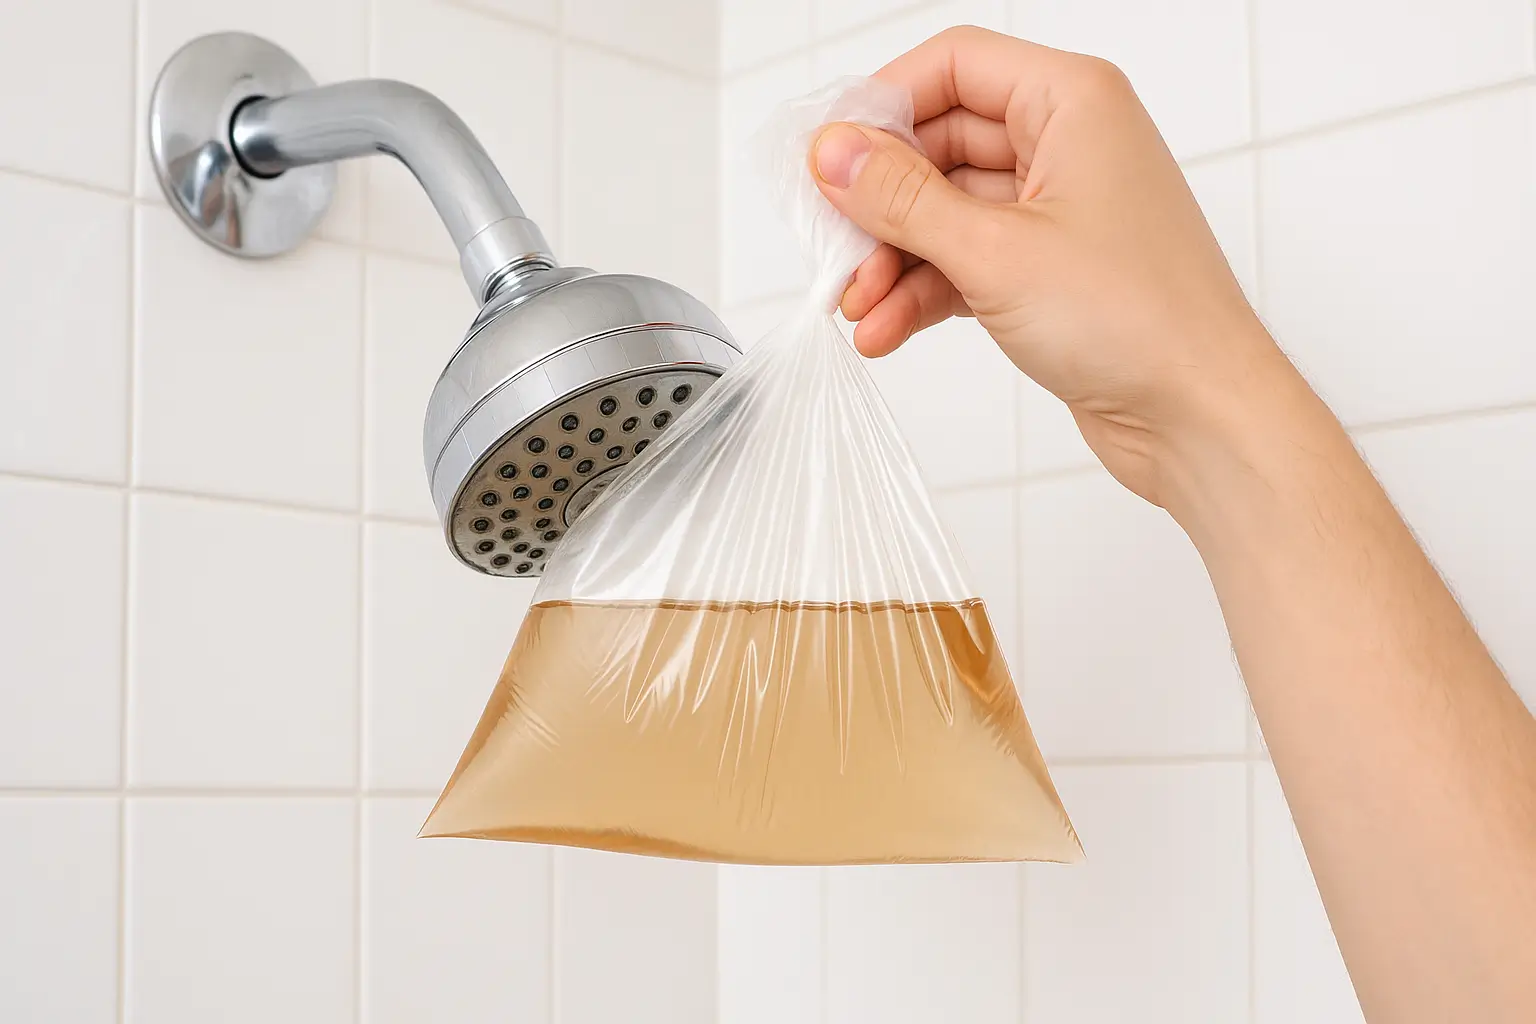
Step 1: Fill a Bag With Vinegar
Pour enough white vinegar into a plastic bag to fully submerge the shower head nozzles. You usually need about one to two cups.
Step 2: Attach the Bag to the Shower Head
Carefully slip the bag over the shower head, making sure the nozzles are fully covered by vinegar. Secure the bag with a rubber band or string so it stays in place.
Step 3: Let It Soak
Allow the shower head to soak for at least 30 minutes. For heavy mineral buildup, soaking for 1 to 2 hours works best. Avoid soaking for more than 4 hours on delicate finishes.
Step 4: Remove the Bag and Scrub
Remove the bag and use an old toothbrush to gently scrub the nozzles and any visible residue. Pay special attention to clogged spray holes.
Step 5: Rinse Thoroughly
Turn on the shower and let hot water run for a few minutes. This flushes out loosened debris and vinegar residue.
Step 6: Wipe and Polish
Use a cloth to wipe the shower head dry and restore shine.
Method 2: How to Clean a Removable Shower Head With Vinegar
If your shower head can be easily removed, this method allows for deeper cleaning.
Step 1: Remove the Shower Head
Unscrew the shower head by hand or use a wrench with a cloth to protect the finish. Be gentle to avoid damaging the fixture.
Step 2: Soak in Vinegar
Place the shower head in a bowl or container filled with white vinegar. Make sure it is fully submerged.
Step 3: Soak for 30 to 60 Minutes
Let the shower head soak until mineral deposits begin to dissolve. You may see bubbles, which is a good sign.
Step 4: Scrub and Clear Nozzles
Use a toothbrush or a toothpick to clean out individual spray holes if needed.
Step 5: Rinse and Reinstall
Rinse thoroughly with warm water, then reattach the shower head and run water to clear any remaining debris.
Method 3: Extra Strength Cleaning for Heavy Buildup
If your shower head has not been cleaned in a long time, you may need a little extra help.
Vinegar and Baking Soda Option
- Mix one cup of vinegar with two tablespoons of baking soda in a bowl
- Submerge the shower head or apply carefully to the nozzles
- Let sit for 15 to 30 minutes
- Scrub gently and rinse thoroughly
This combination creates a mild fizzing action that helps break down stubborn buildup.
How to Clean Different Types of Shower Heads
Not all shower heads are the same, so a few adjustments may be necessary.
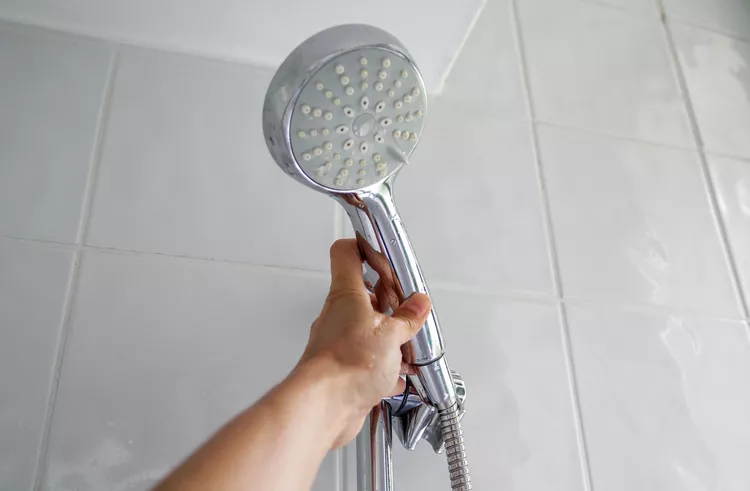
Handheld Shower Heads
Detach the hose if possible and soak the head separately. Be careful not to submerge connection points that contain seals unless recommended by the manufacturer.
Rainfall Shower Heads
These are often larger and may require a bigger bag or container. Make sure the entire spray surface is covered with vinegar.
Chrome, Brass, or Matte Finishes
Limit soaking time to avoid dulling or discoloration. Always wipe dry after cleaning to protect the finish.
Common Mistakes to Avoid
Cleaning shower heads with vinegar is simple, but a few mistakes can cause damage or reduce effectiveness.
- Using vinegar on natural stone or specialty coatings without checking manufacturer guidelines
- Soaking too long on delicate finishes
- Using abrasive scrubbers that scratch surfaces
- Forgetting to rinse thoroughly
When in doubt, test vinegar on a small, hidden area first.
Benefits of Regular Shower Head Cleaning
Keeping your shower head clean offers more than just better water flow.
- Improved water pressure and spray consistency
- Reduced bacteria and mold growth
- Better hygiene and cleaner showers
- Extended lifespan of the fixture
- Improved energy efficiency by reducing strain on plumbing
A clean shower head also makes your entire bathroom feel fresher with minimal effort.
Natural Alternatives to Vinegar
If you dislike the smell of vinegar or want alternatives, here are a few options.
- Lemon juice: Mild acid that works on light buildup
- Citric acid powder: Effective and odor-free when mixed with water
- Commercial descalers: Use sparingly and follow instructions carefully
Vinegar remains the most cost-effective and widely recommended option for routine cleaning.
Quick Reference: Vinegar Shower Head Cleaning Checklist
- Use white distilled vinegar
- Soak for 30 to 60 minutes
- Scrub gently with a toothbrush
- Rinse thoroughly with hot water
- Clean every 1 to 3 months depending on water quality
Final Thoughts
Learning how to clean shower heads with vinegar is one of the easiest home maintenance tasks you can do, yet it delivers noticeable results almost immediately. With just a little time and a common household ingredient, you can restore water pressure, improve cleanliness, and extend the life of your shower fixture.
Regular maintenance not only saves money but also makes your daily showers more enjoyable. Set a reminder, keep a bottle of vinegar on hand, and make this simple cleaning habit part of your routine. Your shower will thank you.