Air fryers have revolutionized home cooking, offering a healthier way to enjoy crispy foods without excessive oil. However, many users struggle with one crucial aspect: keeping their air fryer clean. If you’ve been wondering how to clean air fryer appliances efficiently, you’re in the right place. This comprehensive guide will show you how to deep clean your air fryer in just 10 minutes, ensuring it performs optimally and lasts for years.
Why Regular Air Fryer Cleaning Matters
Before diving into the cleaning process, understanding why regular maintenance is essential can motivate you to stay on top of this task. A dirty air fryer doesn’t just look unpleasant—it can affect your food’s taste, reduce cooking efficiency, and even pose fire hazards.
Grease buildup from previous cooking sessions can create smoke during operation and transfer unwanted flavors to your fresh meals. Additionally, food particles left behind can burn and create unpleasant odors that permeate your kitchen. Regular cleaning prevents these issues and extends your appliance’s lifespan significantly.
What You’ll Need to Clean Your Air Fryer
Gathering your supplies before starting makes the process smooth and efficient. The good news is that you probably already have everything you need in your kitchen. Here’s what to collect:
You’ll need dish soap (preferably a grease-cutting formula), warm water, a soft sponge or non-abrasive cloth, a soft-bristled brush or old toothbrush for hard-to-reach areas, and microfiber towels for drying. For stubborn grease, baking soda and white vinegar work wonders as natural cleaning agents. Avoid steel wool or abrasive scrubbers, as these can damage the non-stick coating on your air fryer basket and pan.
Step-by-Step: How to Clean Air Fryer Components
Now let’s walk through the complete cleaning process that takes just 10 minutes when done regularly.
Step 1: Unplug and Cool Down (1 minute)
Safety comes first. Always unplug your air fryer immediately after use and allow it to cool completely before cleaning. Most air fryers cool down within 30 minutes, but touching any part to verify it’s safe to handle is wise. Never attempt to clean a hot air fryer, as this can cause burns and damage to both you and the appliance.
Step 2: Remove All Detachable Parts (1 minute)
Take out the basket, tray, and any other removable components from your air fryer. Most models have a basket that sits inside a drawer or pan. Remove both pieces and check for any additional accessories like racks or separators that need cleaning. This separation allows you to clean each component thoroughly.
Step 3: Soak in Warm Soapy Water (3 minutes)
Fill your sink with warm water and add a generous squirt of dish soap. Submerge the basket and pan in this solution and let them soak for 2-3 minutes. This soaking time loosens baked-on grease and food particles, making them much easier to remove. For heavily soiled components, you can soak them for up to 10 minutes, though regular cleaning shouldn’t require this extended time.
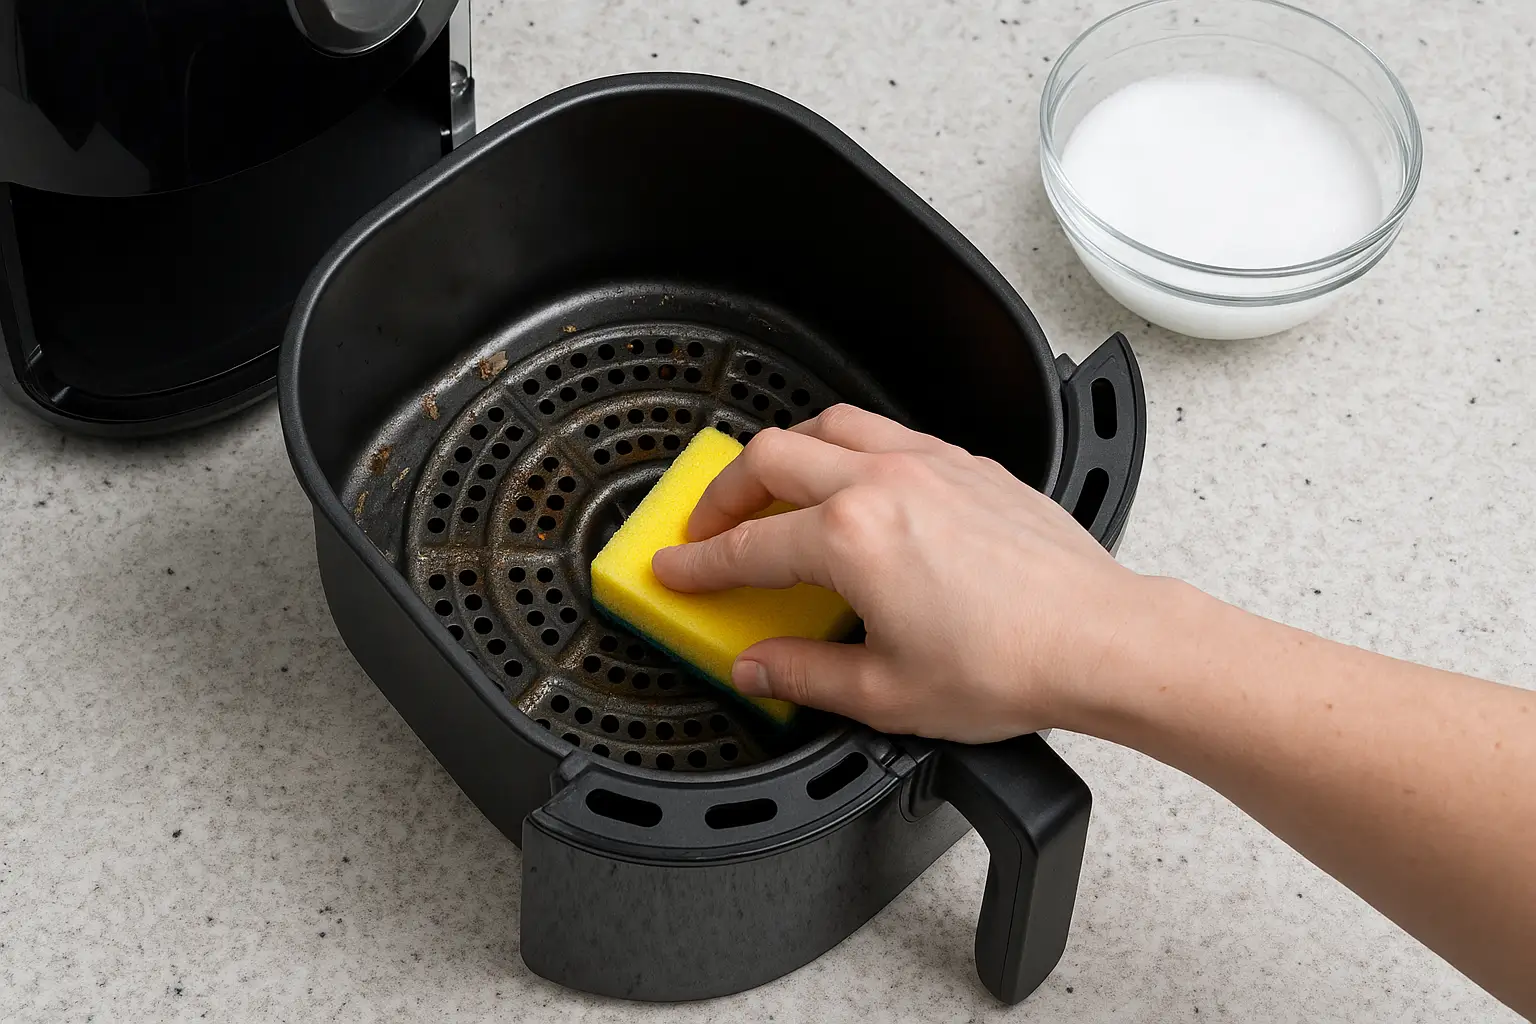
Step 4: Scrub the Basket and Pan (2 minutes)
After soaking, use your soft sponge to scrub the basket and pan. Pay special attention to the mesh areas of the basket where food particles often get trapped. For stubborn residue, sprinkle baking soda on the affected areas and gently scrub with your soft-bristled brush. The baking soda acts as a mild abrasive that won’t damage non-stick surfaces.
Work in circular motions and ensure you clean both the inside and outside of each component. The drawer or pan beneath the basket often collects grease drippings, so don’t neglect this piece.
Step 5: Clean the Interior Chamber (2 minutes)
While the removable parts are soaking, turn your attention to the air fryer’s main unit. Dampen your microfiber cloth with warm soapy water and wipe down the interior chamber where the basket sits. Food splatters and grease often coat the heating element and interior walls.
Be gentle around the heating element you can wipe it carefully, but avoid applying excessive pressure. If you notice baked-on residue, make a paste with baking soda and a small amount of water, apply it gently with your cloth, and wipe clean. Never submerge the main unit in water or spray it directly, as this can damage the electrical components.
Step 6: Rinse and Dry Thoroughly (1 minute)
Rinse all washed components under warm running water, ensuring all soap residue is removed. Soap left behind can affect the taste of your next meal and create smoke during cooking. Dry everything thoroughly with clean microfiber towels or let them air dry on a dish rack.
Make sure the interior of the main unit is completely dry before reassembling. Any moisture left in the electrical components can cause malfunction or create safety hazards.
How to Clean Air Fryer: Tackling Tough Grease and Burnt-On Food
Sometimes regular cleaning isn’t enough, especially if you’ve neglected maintenance or cooked particularly greasy foods. Here are proven methods for deep cleaning your air fryer when standard washing doesn’t cut it.
The Baking Soda Method
Create a thick paste using three parts baking soda to one part water. Apply this paste generously to stubborn grease spots and burnt-on food areas. Let it sit for 15-20 minutes to break down the residue, then scrub gently with your soft-bristled brush. Baking soda is mildly alkaline, which helps cut through acidic grease without damaging surfaces.
The Vinegar Solution
For mineral deposits or particularly stubborn grease, white vinegar is your ally. Mix equal parts white vinegar and water in a spray bottle. Spray the solution on affected areas and let it sit for 5-10 minutes before wiping clean. The acidity in vinegar dissolves grease and eliminates odors naturally. Never mix vinegar with baking soda for cleaning purposes, as they neutralize each other’s effectiveness.
The Steam Cleaning Trick
Fill the air fryer basket with water mixed with a few drops of dish soap and run the air fryer at 350°F for 3-4 minutes. The steam loosens baked-on grease from interior surfaces. After cooling, wipe everything down with a damp cloth. This method works particularly well for the heating element and hard-to-reach interior areas.
Cleaning Different Air Fryer Models
While the basic cleaning process remains consistent across brands, some models have specific considerations worth noting.
Basket-Style Air Fryers
These are the most common types with a removable basket inside a drawer. When learning how to clean air fryer basket-style models, focus on the mesh basket where food sits and the solid drawer underneath that catches drippings. Both pieces are typically dishwasher-safe, though hand washing extends their lifespan.
Oven-Style Air Fryers
These larger models resemble toaster ovens with racks and trays. They often have glass doors that require streak-free cleaning. Use a vinegar-water solution on the glass and clean multiple racks separately. The larger interior may accumulate more splatter, so wipe down walls after each use.
Multi-Function Air Fryers
Pressure cooker combinations or multi-cookers with air fryer functions need extra attention. These models have more components like sealing rings and pressure valves. Always consult your specific manual, but generally, remove and wash the air fryer lid components separately from pressure cooking parts to prevent cross-contamination of grease and moisture.
How Often Should You Clean Your Air Fryer?
Establishing a cleaning routine prevents buildup and keeps your 10-minute cleaning sessions truly quick.
After Every Use: Wipe down the basket and drawer with a damp cloth if you’ve only cooked lightly breaded or non-greasy foods. This takes 2 minutes and prevents accumulation.
After Every 2-3 Uses: Perform the full 10-minute cleaning routine described above for regular maintenance, especially after cooking greasy items like bacon, fried chicken, or fatty fish.
Monthly Deep Clean: Once a month, conduct a thorough deep clean including the heating element, exterior surfaces, and any hard-to-reach crevices. This extended session might take 20-30 minutes but ensures optimal performance.
As Needed: If you notice smoke, unusual odors, or visible grease buildup at any point, clean immediately regardless of your regular schedule.
Common Air Fryer Cleaning Mistakes to Avoid
Even with the best intentions, certain cleaning habits can damage your air fryer or reduce its effectiveness.
Never use metal utensils or abrasive cleaners on non-stick surfaces. These create scratches that food will stick to, making future cleaning harder and potentially releasing harmful coating particles into your food. Similarly, avoid harsh chemical cleaners that can degrade non-stick coatings and leave residues that affect food taste.
Don’t neglect the heating element. Many people focus solely on the basket and pan, ignoring the heating coil where grease accumulates. This oversight leads to smoking and reduced heating efficiency.
Resist the temptation to put the main unit in the dishwasher or sink. Only removable components should be fully submerged in water. The base contains electrical parts that water will permanently damage.
Finally, never reassemble or use your air fryer while components are still wet. Moisture and electricity don’t mix, and trapped water can lead to rust, mold, or electrical shorts.
Tips for Keeping Your Air Fryer Cleaner Longer
Prevention reduces the frequency and intensity of cleaning sessions. Use parchment paper or silicone liners designed for air fryers to catch drips and crumbs. These disposable or reusable liners protect the basket while allowing proper air circulation. Just ensure you’re using products specifically designed for air fryers, as regular parchment paper can blow around in the high-velocity air.
Lightly spray your basket with cooking oil before each use. This might seem counterintuitive, but a thin oil layer prevents food from sticking and makes cleanup easier. Use an oil mister for even, minimal application.
Don’t overcrowd the basket. Beyond improving cooking results, leaving space between food items reduces splatter and grease accumulation on the sides of the basket. Food pieces touching walls tend to leave more residue.
Pat foods dry before air frying. Excess moisture from marinades or rinsing creates more splatter during cooking. Drying food with paper towels before placing it in the basket significantly reduces mess.
Troubleshooting: When Your Air Fryer Still Smells or Smokes
If you’ve cleaned thoroughly but still experience issues, several factors might be at play.
Persistent Odors: If your air fryer smells even after cleaning, try this deodorizing technique: place a bowl with lemon slices and water inside the basket and run the air fryer at 300°F for 5 minutes. The citrus naturally absorbs and neutralizes odors. Alternatively, wipe interior surfaces with a cloth dampened in vanilla extract, which leaves a pleasant scent.
Smoking During Operation: If your cleaned air fryer still produces smoke, check these areas: grease may have splattered onto the heating element and requires another targeted cleaning, the drip tray underneath might be full and needs emptying, or food particles might be stuck in ventilation holes around the basket.
White Residue: Hard water can leave mineral deposits that look like white film. Clean these with undiluted white vinegar on a cloth, let sit briefly, then rinse thoroughly. Consider using filtered water if this becomes a recurring issue.
The Benefits of a Clean Air Fryer
Maintaining a clean air fryer isn’t just about aesthetics or avoiding unpleasant smells. A well-maintained appliance cooks more efficiently, using less energy and producing better results. Clean heating elements distribute heat evenly, ensuring your food cooks properly without hot spots or undercooked areas.
From a health perspective, removing old grease and food particles eliminates potential bacterial growth and prevents consuming burnt residue that can transfer to fresh meals. This is particularly important for households with allergies or sensitivities, as cross-contamination from previous meals won’t be an issue.
Financially, regular cleaning extends your air fryer’s lifespan significantly. Replacing an air fryer due to neglect costs far more than the few minutes spent cleaning after each use. Most quality air fryers should last 5-7 years with proper maintenance, but this lifespan drops dramatically without regular cleaning.
Conclusion: Make Air Fryer Cleaning a Habit
Learning how to clean air fryer appliances efficiently transforms this chore from a dreaded task into a quick, manageable routine. The 10-minute method outlined here works for regular maintenance and keeps your air fryer performing like new. By cleaning after every few uses, using the right tools and techniques, and addressing issues promptly, you’ll enjoy delicious, healthy meals without the hassle of dealing with stubborn, baked-on messes.
Remember that consistency is key. A few minutes after each cooking session prevents the need for lengthy deep-cleaning marathons. Your air fryer is an investment in healthier cooking, and taking care of it ensures you’ll enjoy crispy, delicious foods for years to come. Set a reminder on your phone if needed, or simply make it part of your cooking routine—clean while food rests or dishes are being served.
With these strategies, you’re now equipped to keep your air fryer spotless and functioning optimally. Happy cooking and even happier cleaning!