You know that sinking feeling when you slice into what you hoped would be a perfectly cooked steak, only to find it’s either raw in the middle or cooked to shoe leather? I’ve been there more times than I’d like to admit. After years of grilling, roasting, and smoking meat for my family, I’ve learned one simple truth: a good meat thermometers is the difference between guessing and knowing.
Whether you’re a weekend warrior at the grill or just trying to cook a decent chicken breast for Tuesday dinner, understanding how to use a meat thermometer properly changes everything. Let me walk you through what I’ve learned.
Why Every Home Cook Needs a Meat Thermometer
Here’s something most people don’t realize: the USDA estimates that proper cooking temperatures prevent thousands of foodborne illnesses every year. But beyond food safety, there’s the simple fact that perfectly cooked meat just tastes better.
I used to rely on the “poke test” or cutting into meat to check doneness. The result? Dry pork chops, undercooked chicken, and steaks that were never quite right. A reliable meat thermometer eliminated all that guesswork.
The benefits go beyond just cooking meat properly:
Food safety comes first. Harmful bacteria like Salmonella and E. coli don’t stand a chance when you cook poultry to 165°F or ground beef to 160°F. You’re protecting your family with every reading.
Consistent results every time. Once you know that your ribeye is perfect at 135°F, you can recreate that exact doneness whenever you want. No more inconsistent results.
Less wasted money. When you stop overcooking expensive cuts of meat, you’ll notice the savings. That $40 prime ribeye deserves to be cooked right.
Confidence in the kitchen. There’s something satisfying about knowing exactly what’s happening inside your food. You become a better cook almost immediately.
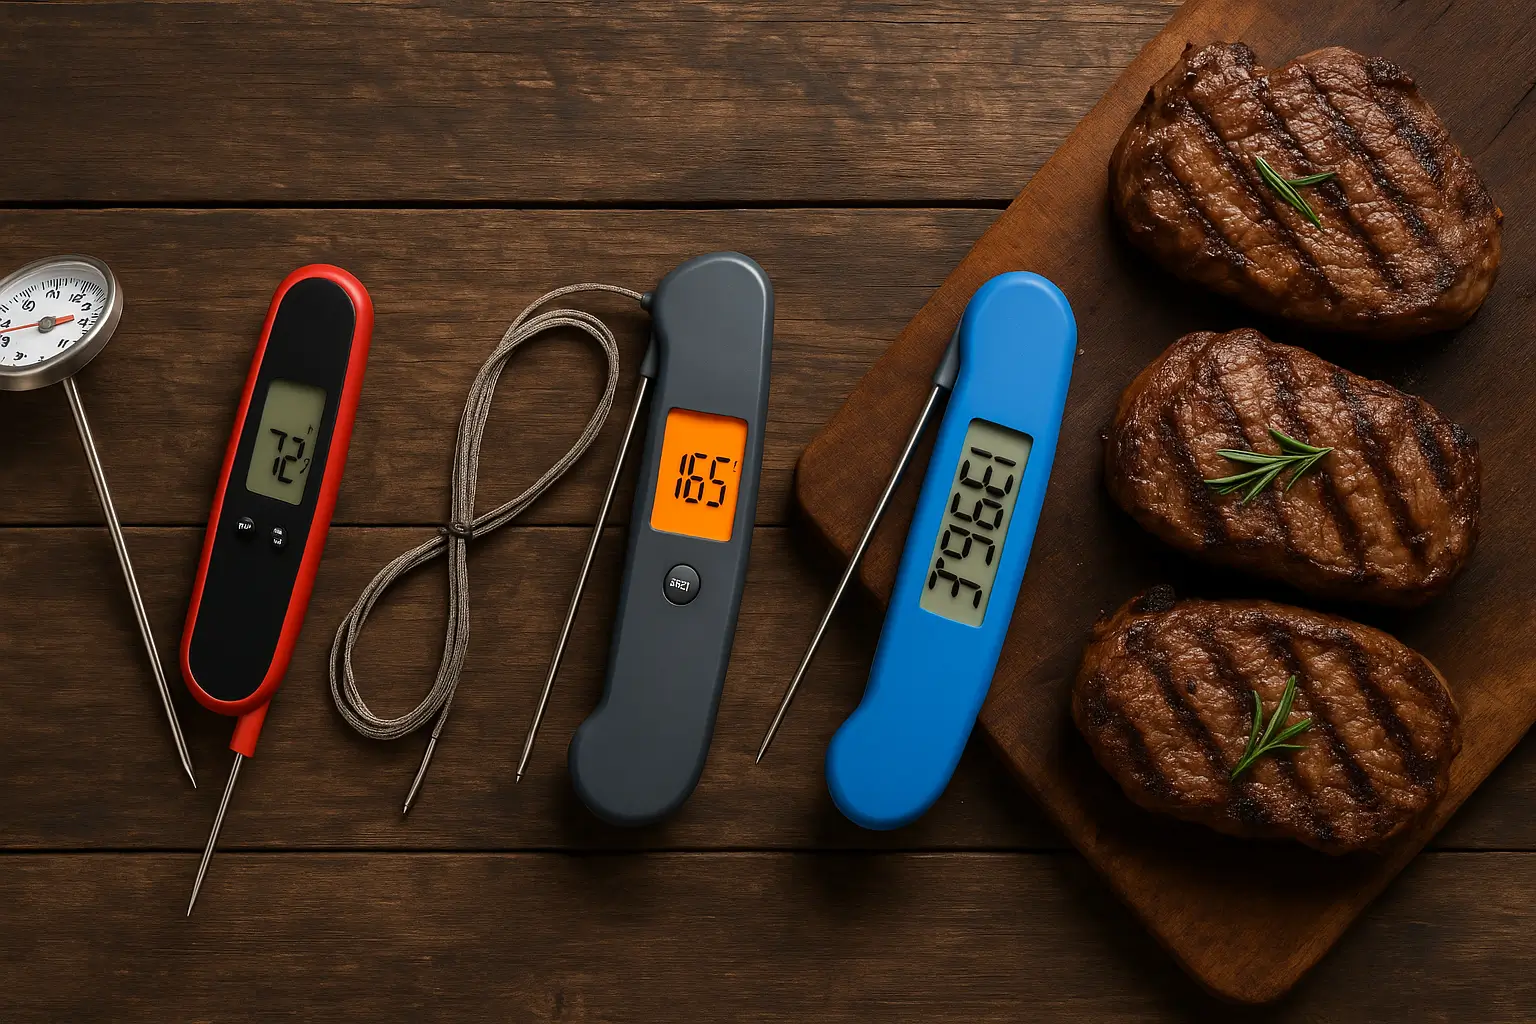
Different Types of Meat Thermometers Explained
Walking into a kitchen store and seeing dozens of different thermometers can feel overwhelming. Let me break down the main types so you know exactly what you’re looking at.
Instant Read Thermometers
These are the workhorses of most kitchens, and for good reason. An instant read meat thermometer gives you a temperature reading in just a few seconds.
I keep mine right next to my stove because I use it constantly. You simply insert the probe into the thickest part of your meat, wait 2-10 seconds depending on the model, and get your reading. They’re not meant to stay in the oven or grill while cooking.
The digital meat thermometer versions are incredibly accurate, usually within one degree. Some of my favorites have backlit displays for checking temps at night on the grill, and they fold up for easy storage.
Price ranges vary wildly. You can find basic digital models for around $15-20 that work perfectly fine, while professional-grade instant read thermometers like the Thermapen run closer to $100. For most home cooks, something in the $25-40 range hits the sweet spot.
Leave-In Probe Thermometers
This style changed how I cook large roasts and whole chickens. A probe meat thermometer has a metal probe connected to a digital display by a heat-resistant cable.
You insert the probe into your meat before it goes in the oven, run the cable out through the oven door, and monitor the temperature without ever opening the oven. Many models have preset temperature alarms that beep when your food reaches the target temp.
I particularly love these for overnight brisket smokes or holiday turkey. You can even find wireless versions now where the display unit sits on your counter or clips to your belt. Some connect to smartphone apps, letting you monitor your meat from anywhere in the house.
Dial Thermometers
These are the old-school oven safe meat thermometers your grandmother might have used. They feature a metal probe attached to a round dial display that shows the temperature.
Honestly, I rarely recommend these anymore. They’re slower to read (usually 1-2 minutes), less accurate (often off by 5-10 degrees), and the dial can fog up or fail. However, they’re inexpensive and completely mechanical with no batteries required.
If you do use one, make sure to test its accuracy in ice water before relying on it.
Infrared Thermometers
Here’s where things get interesting. An infrared meat thermometer measures surface temperature without touching the food at all.
While they’re fantastic for checking the temperature of your grill grates or a cast iron skillet, they’re not ideal for meat. Why? Because they only read surface temperature, not internal temperature where food safety matters.
I use mine to make sure my griddle is at the right temp for pancakes or to check if my pizza stone is ready, but never for checking if chicken is done.
Bluetooth and WiFi Smart Thermometers
Technology has revolutionized meat thermometers in recent years. Wireless meat thermometers now connect to your phone via Bluetooth or WiFi, letting you monitor cooking from up to 300 feet away.
The smart meat thermometer models I’ve tested do some pretty clever things. They estimate cooking time remaining, send alerts to your phone when food is done, and some even guide you through the cooking process with step-by-step instructions.
These shine when you’re smoking meat for hours or cooking something that requires precise temperature control. Being able to check on a pork shoulder from inside the house on a cold winter day is genuinely convenient.
How to Use a Meat Thermometer Correctly
Having the right thermometer means nothing if you don’t use it properly. Here’s what actually works.
Proper Insertion Technique
This might seem basic, but I see people mess this up constantly. The probe needs to go into the thickest part of the meat, away from any bones, fat, or gristle.
Why? Because bone conducts heat differently than meat and will give you a false reading. Fat renders at different temperatures. You want to measure the actual muscle tissue.
For a steak or chop, insert from the side rather than straight down through the top. This gives you a better reading of the center temperature. For whole chickens or turkeys, the innermost part of the thigh (near but not touching the bone) is your target.
With ground meat like burgers or meatloaf, insert from the side into the center. These need to reach higher temperatures for safety, so accuracy really matters.
When to Check Temperature
Timing is everything. Check too early and you’ll let heat escape from the oven. Check too late and you might overcook your food.
I start checking when I’m about 75% through the estimated cooking time. For a chicken that should take 60 minutes, I make my first check around the 45-minute mark.
Always check in multiple spots, especially with larger roasts or uneven cuts. Temperature can vary by 10-15 degrees in different areas of the same piece of meat.
One crucial tip: remember that meat continues cooking after you remove it from heat. This is called carryover cooking, and it can raise the internal temperature by 5-10 degrees. I pull most meats off the heat when they’re about 5 degrees below my target temperature.
Cleaning and Maintenance
A dirty thermometer can transfer bacteria between foods. I wash the probe with hot soapy water after every single use, making sure to clean the entire length that touched the food.
For instant read thermometers, be careful not to submerge the electronic display in water. A damp cloth works fine for the body of the unit.
Test your thermometer’s accuracy every few months. Fill a glass with ice and water, let it sit for a minute, then insert your thermometer. It should read 32°F (0°C). If it’s off by more than 2 degrees, it’s time for a replacement or recalibration if your model allows it.
Essential Temperature Guidelines for Different Meats
Knowing the right temperatures is just as important as having a good thermometer. Here’s what you need to know.
Beef, Pork, and Lamb
The USDA provides minimum safe temperatures, but let’s talk about what actually tastes good too.
Beef steaks and roasts:
- Rare: 125°F (not recommended by USDA)
- Medium-rare: 135°F (my personal favorite for most cuts)
- Medium: 145°F (USDA minimum)
- Medium-well: 150°F
- Well-done: 160°F
For ground beef in burgers or meatloaf, always hit 160°F. Ground meat has more surface area exposed to bacteria during processing, so this isn’t optional.
Pork has changed over the years. The USDA now recommends 145°F for whole cuts, which gives you juicy, slightly pink pork that’s completely safe. Pork tenderloin at 145°F is a revelation if you’ve been cooking it to 165°F your whole life.
Ground pork and pork sausage still need 160°F. For slow-cooked pulled pork, you’re actually aiming much higher—around 200-205°F—to break down the connective tissue.
Lamb follows beef guidelines: 145°F minimum, but many people prefer it at 135°F for medium-rare.
Poultry
Chicken, turkey, and other poultry need 165°F throughout. This is non-negotiable for food safety.
However, different parts can be cooked to different temperatures for best results. Dark meat (thighs and drumsticks) actually tastes better around 175-180°F because the extra heat breaks down the connective tissue. White meat (breasts) is best right at 165°F—any higher and it gets dry.
When cooking a whole bird, use the thigh as your temperature guide since it takes longest to cook.
Fish and Seafood
Fish is done at 145°F when the flesh becomes opaque and flakes easily. However, many people prefer certain fish like tuna or salmon cooked to lower temperatures (around 125-130°F) for a more tender texture.
Shrimp turns from gray to pink and opaque at around 120°F. Overcooking makes it rubbery, so watch carefully.
Game Meats
Wild game like venison or elk should reach the same temperatures as beef if it’s a whole muscle cut. However, if the meat has been ground or made into sausage, cook it to 160°F.
Common Mistakes to Avoid
Even experienced cooks make these errors. Here’s what to watch out for.
Testing too early wastes heat and extends cooking time. Be patient and wait until you’re reasonably sure the food is close to done.
Only checking one spot can leave you with unevenly cooked meat. Always test multiple locations, especially on larger cuts.
Touching bone or the pan with your probe gives you wildly inaccurate readings. Bone conducts heat rapidly and will show higher temperatures than the meat itself.
Ignoring carryover cooking leads to overcooked food. Pull meat off heat 5 degrees before your target and let it rest.
Not letting meat rest after cooking is a huge mistake. Those juices need time to redistribute through the meat. A good rest is 5-10 minutes for steaks and chops, 15-20 minutes for roasts, and 30 minutes for large turkeys.
Choosing the Right Meat Thermometer for Your Needs
With so many options, how do you pick the right one?
For everyday cooking, an instant read digital thermometer is my top recommendation. Something in the $25-40 range from brands like ThermoPro, Lavatools, or ThermoWorks gives you accuracy and speed without breaking the bank.
For serious grillers and pitmasters, invest in a good wireless probe thermometer. Being able to monitor temperature remotely is worth every penny when you’re smoking meat for 8+ hours.
For budget-conscious cooks, even a basic $15 digital instant read is infinitely better than no thermometer at all.
Look for these features:
- Quick read time (under 5 seconds is ideal)
- Accuracy within 1-2 degrees
- Waterproof or water-resistant construction
- Clear, easy-to-read display
- Wide temperature range (at least -40°F to 450°F)
I actually recommend owning two thermometers. Keep an instant read for quick checks and everyday use, plus a leave-in probe thermometer for longer cooks where you want continuous monitoring.
Advanced Techniques and Pro Tips
Once you’ve mastered the basics, these techniques take your cooking to the next level.
Reverse searing thick steaks works beautifully with a thermometer. Cook the steak in a low oven (around 275°F) until it reaches 115°F internally, then sear it hard on a blazing hot pan. You get perfect edge-to-edge doneness with a great crust.
Monitoring multiple pieces of chicken on the grill is easier when you know the coldest piece is at temperature. Check them all and pull pieces as they reach 165°F rather than waiting for everything at once.
Calibrating your oven using a thermometer can reveal that your oven runs hot or cold. Many ovens are off by 25 degrees or more, which explains why your recipes don’t turn out as expected.
Using temperature to prevent overcooking during resting means pulling food even earlier than you think. A thick steak might carry over 10 degrees, so I pull it at 125°F for a perfect 135°F medium-rare after resting.
Frequently Asked Questions
Can I leave my instant read thermometer in the oven?
No, most instant read thermometers aren’t designed for continuous heat exposure and will break. Use a probe thermometer designed for oven use instead.
How deep should I insert the thermometer?
At least 2 inches into thick cuts, or halfway through thinner pieces. The tip of the probe is where the sensor is located, so that needs to be in the center of the meat.
Do I need different thermometers for meat and candy?
While some thermometers work for both, candy thermometers need to read much higher temperatures (up to 400°F) and often clip to the side of a pot. A meat thermometer won’t work well for candy making.
Why does my meat thermometer give different readings?
If you’re getting inconsistent readings, you might be hitting bone, fat, or moving the probe between checks. Also, cheap thermometers can have poor quality control and simply be inaccurate.
How often should I replace my meat thermometer?
With proper care, a good digital thermometer should last 2-5 years. Replace it if it’s consistently inaccurate, slow to read, or shows signs of damage like a cracked display or bent probe.
Final Thoughts
Learning to use a meat thermometer properly was one of those simple changes that dramatically improved my cooking. No more guesswork, no more dry chicken, no more worrying if the pork is safe to eat.
Start with a decent instant read thermometer—it doesn’t need to be expensive—and just use it consistently. Check your food in multiple spots, remember that carryover cooking, and trust the numbers over the clock.
Your family will notice the difference in the first meal. Juicier steaks, perfectly cooked chicken, and the confidence that comes from knowing exactly what you’re serving.