Learning how to clean ninja air fryer properly is essential for maintaining your appliance’s performance and extending its lifespan. Whether you’re a new Ninja air fryer owner or you’ve been struggling with stubborn grease buildup, this comprehensive guide will walk you through everything you need to know about keeping your air fryer spotless and functioning like new.
Your Ninja air fryer works hard to deliver crispy, delicious meals with minimal oil. But without proper cleaning, grease and food particles can accumulate, affecting both taste and performance. Don’t worry cleaning your Ninja air fryer is easier than you think, and with the right approach, you can have it sparkling clean in just 15-20 minutes.
Why Proper Ninja Air Fryer Cleaning Matters
Before diving into how to clean ninja air fryer step-by-step, let’s understand why regular cleaning is crucial. A dirty air fryer doesn’t just look bad—it can actually impact your cooking results and even pose health risks.
When you don’t clean your Ninja air fryer regularly, several problems can occur. Grease buildup can cause smoke during cooking, affecting the taste of your food with unwanted flavors. Food particles left behind can burn and create unpleasant odors that transfer to future meals. Additionally, bacteria can grow in the moist, warm environment of a dirty air fryer, potentially causing food safety issues.
Regular cleaning ensures optimal air circulation, which is essential for the air frying process. When the heating element and fan are clean, your Ninja air fryer can maintain consistent temperatures and cook food evenly. This means better results every time you cook.
Essential Supplies for Cleaning Your Ninja Air Fryer
Before you start learning how to clean ninja air fryer, gather these supplies to make the process smooth and effective:
Basic Cleaning Supplies:
- Warm, soapy water
- Soft microfiber cloths or paper towels
- Non-abrasive sponge
- Soft-bristled brush (old toothbrush works great)
- Dish soap (Dawn or similar degreasing soap)
- Clean, dry towels
For Stubborn Stains and Grease:
- Baking soda
- White vinegar
- Lemon juice
- Non-abrasive cleaner (like Bar Keepers Friend)
What to Avoid:
- Steel wool or abrasive scrubbers
- Harsh chemicals or bleach
- Putting the main unit in water
- Using the dishwasher for non-dishwasher safe parts
Also Read: The Ultimate Guide to the Best Glass Air Fryer Non Toxic in 2025
Step-by-Step Guide: How to Clean Ninja Air Fryer
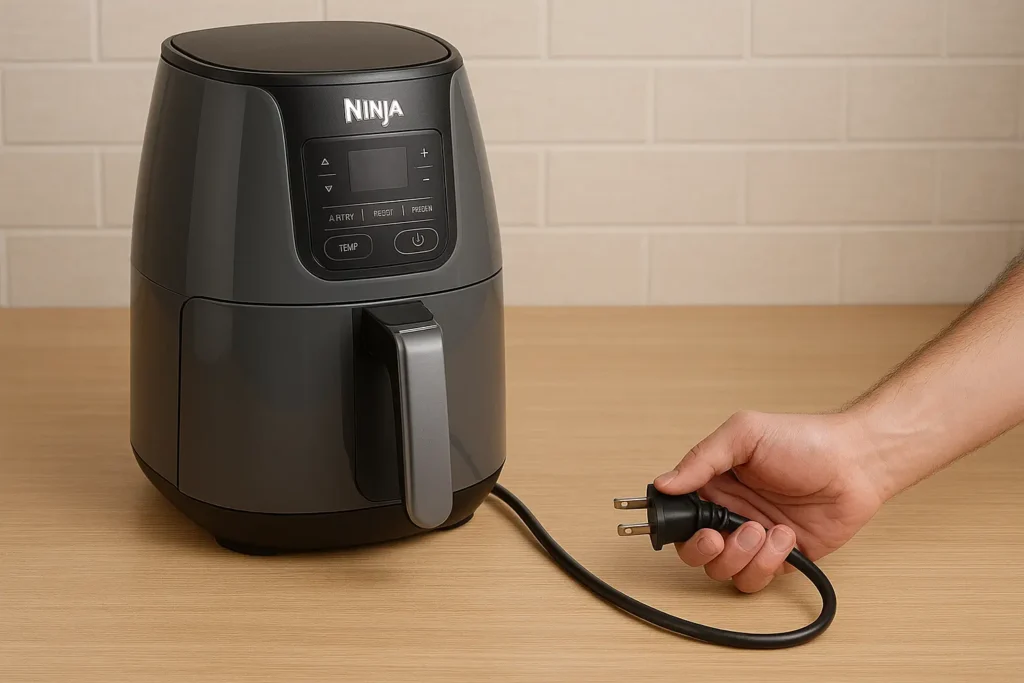
Step 1: Safety First – Unplug and Cool Down
The first rule of how to clean ninja air fryer safely is to always unplug your appliance and let it cool completely. This should take about 30 minutes after your last use. Never attempt to clean a hot air fryer, as this can cause burns and damage to both you and the appliance.
Check that the unit is completely cool by touching the exterior surfaces carefully. The heating element inside should also be cool to the touch before you begin disassembly.
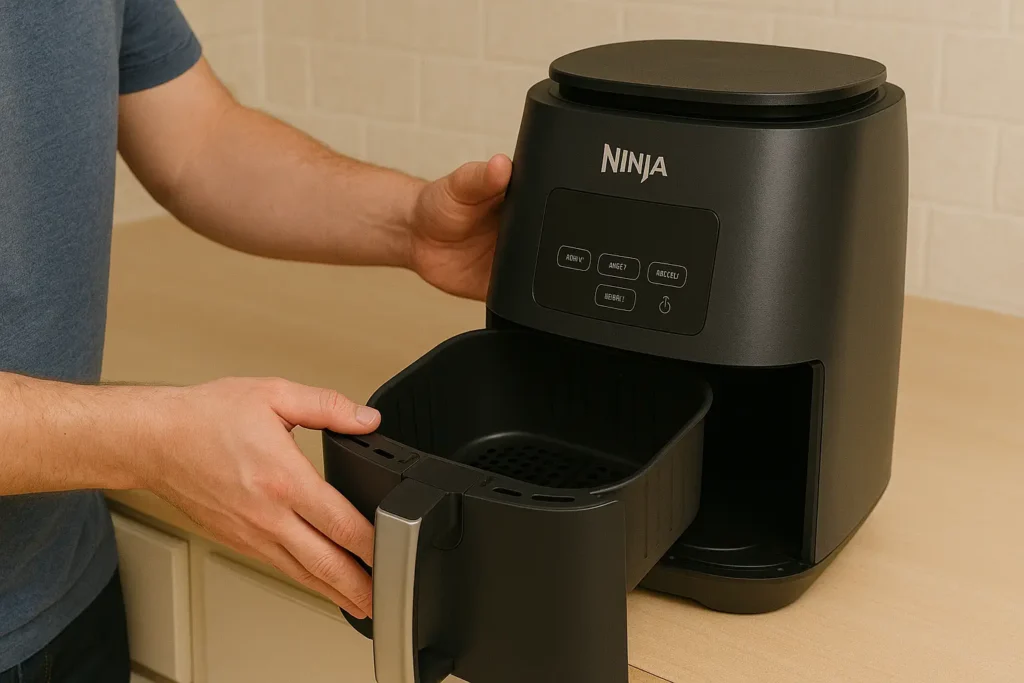
Step 2: Remove and Disassemble Removable Parts
Most Ninja air fryer models have several removable components that make cleaning much easier. Carefully remove:
- The cooking basket (or baskets if you have a dual-zone model)
- The crisper plate
- Any additional accessories like racks or dividers
- The drip tray (if your model has one)
Handle these parts gently to avoid damage. Some Ninja air fryer models have parts that are dishwasher-safe, but we’ll cover hand washing first since it’s often gentler on the components.

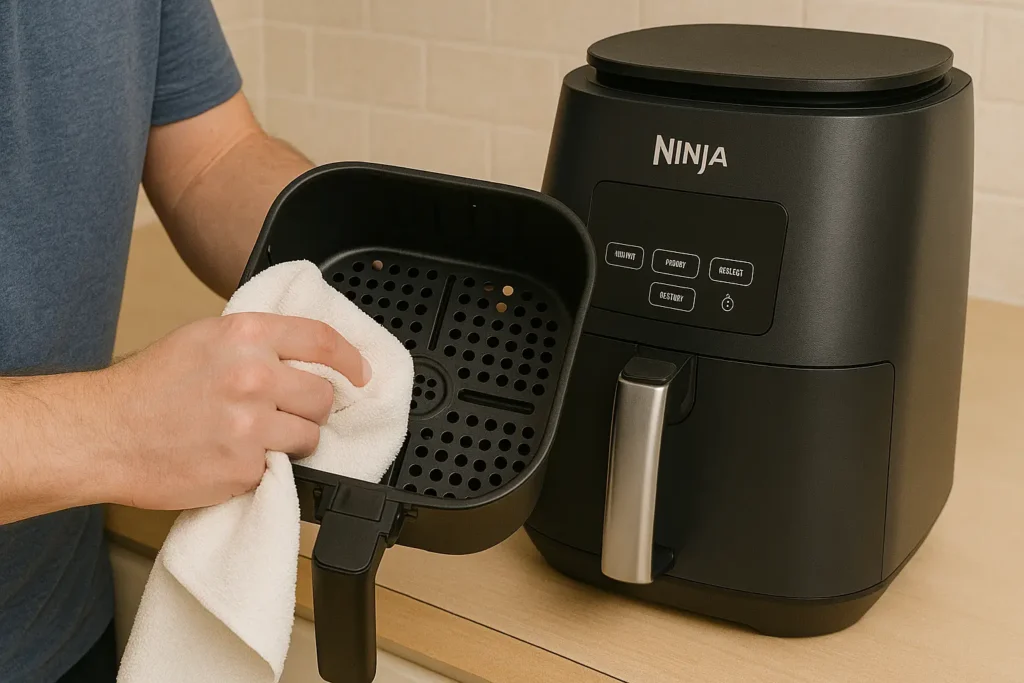
Step 3: Clean the Removable Components
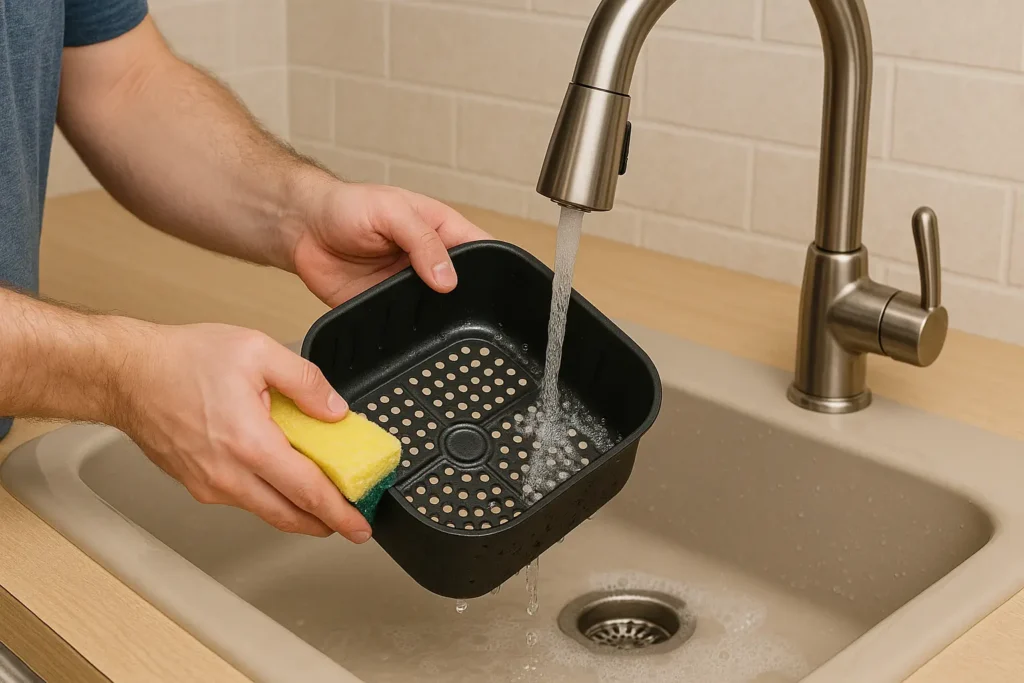
This is where most of the work happens when learning how to clean ninja air fryer effectively. Fill your sink with warm, soapy water and let the removable parts soak for 10-15 minutes. This helps loosen stuck-on food particles and grease.
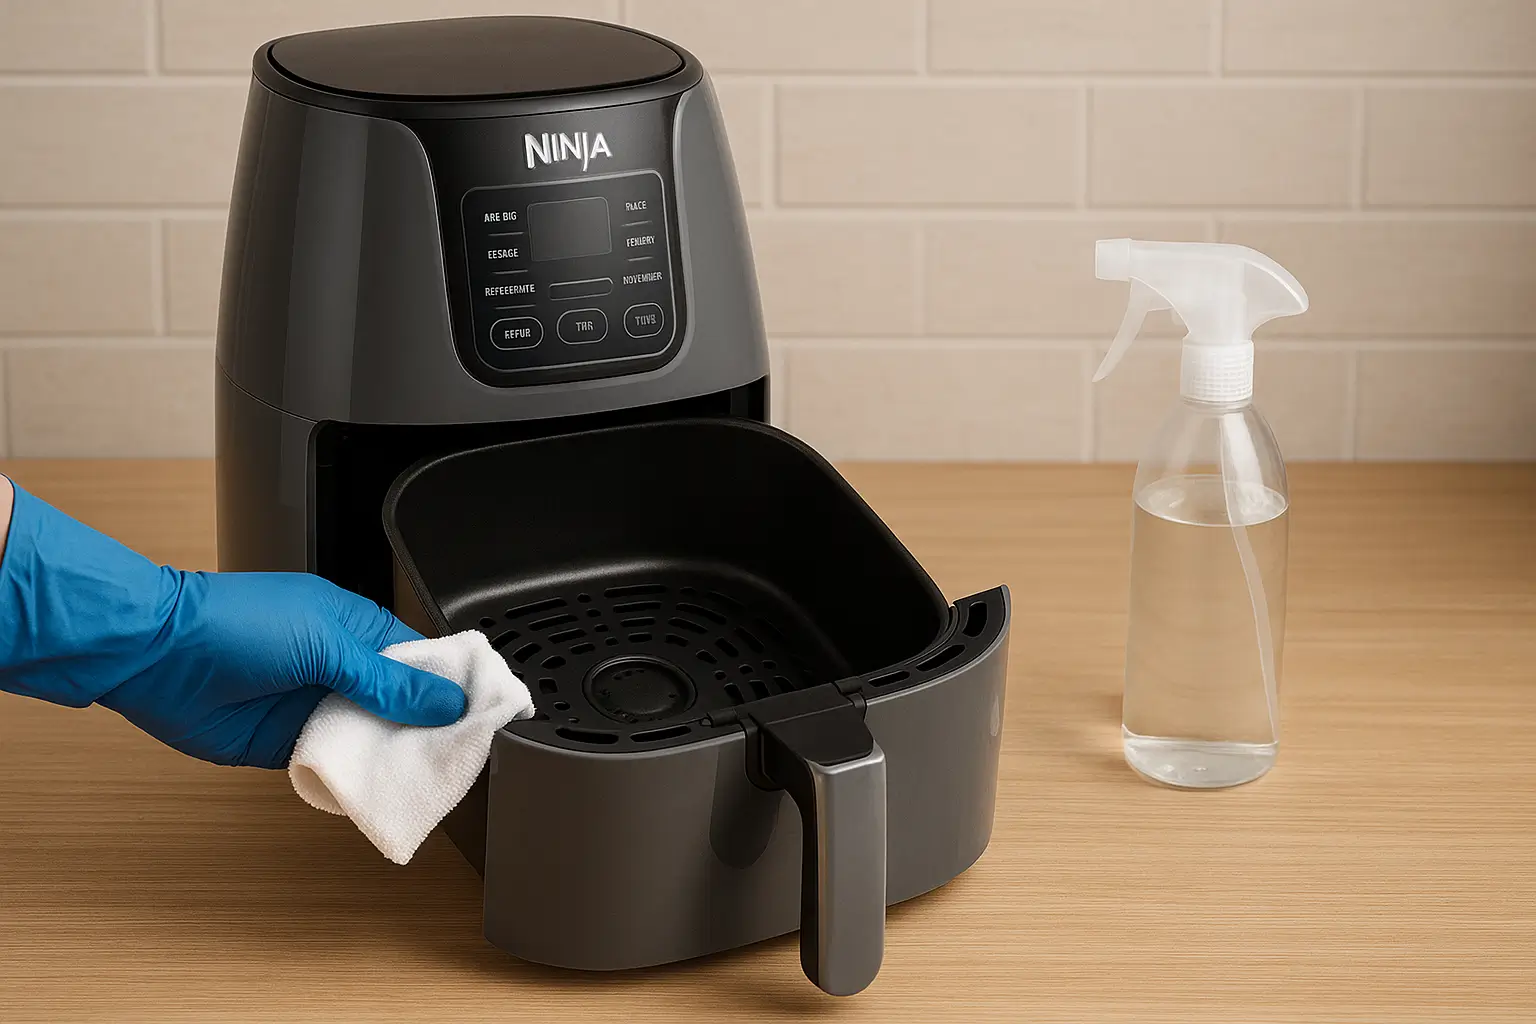
For the cooking basket and crisper plate, use a non-abrasive sponge to gently scrub away food residue. Pay special attention to the holes in the basket, as these can trap small food particles. A soft-bristled brush is perfect for getting into these tight spaces.
If you encounter stubborn, baked-on grease, make a paste with baking soda and water. Apply this paste to the problem areas and let it sit for 5-10 minutes before scrubbing gently. The mild abrasive action of baking soda will help break down the grease without scratching the non-stick surfaces.
Step 4: Clean the Main Unit Interior
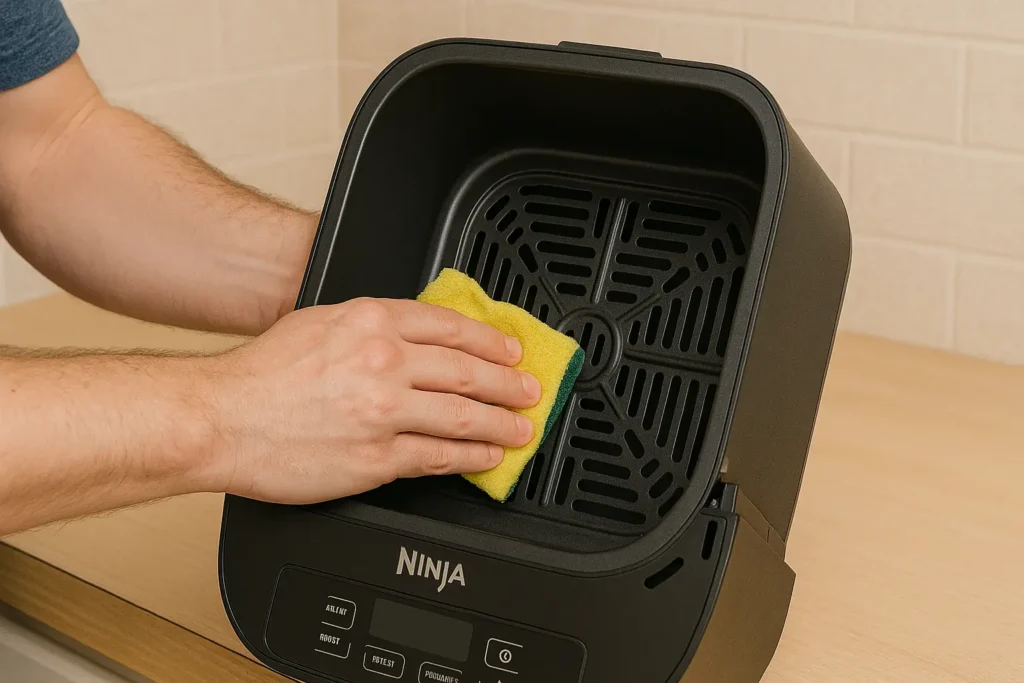
Now for the interior of your Ninja air fryer. This part requires extra care since you can’t submerge the main unit in water. Use a damp microfiber cloth to wipe down the interior surfaces, including the area around the heating element.
Be gentle around the heating element—it’s sensitive and can be damaged if handled roughly. For stuck-on food particles near the heating element, use a soft brush to carefully remove them. Never use water directly on the heating element or fan.
If there’s significant grease buildup on the interior walls, use a mixture of warm water and a few drops of dish soap on your cloth. Wring out excess water to ensure the cloth is only damp, not soaking wet.
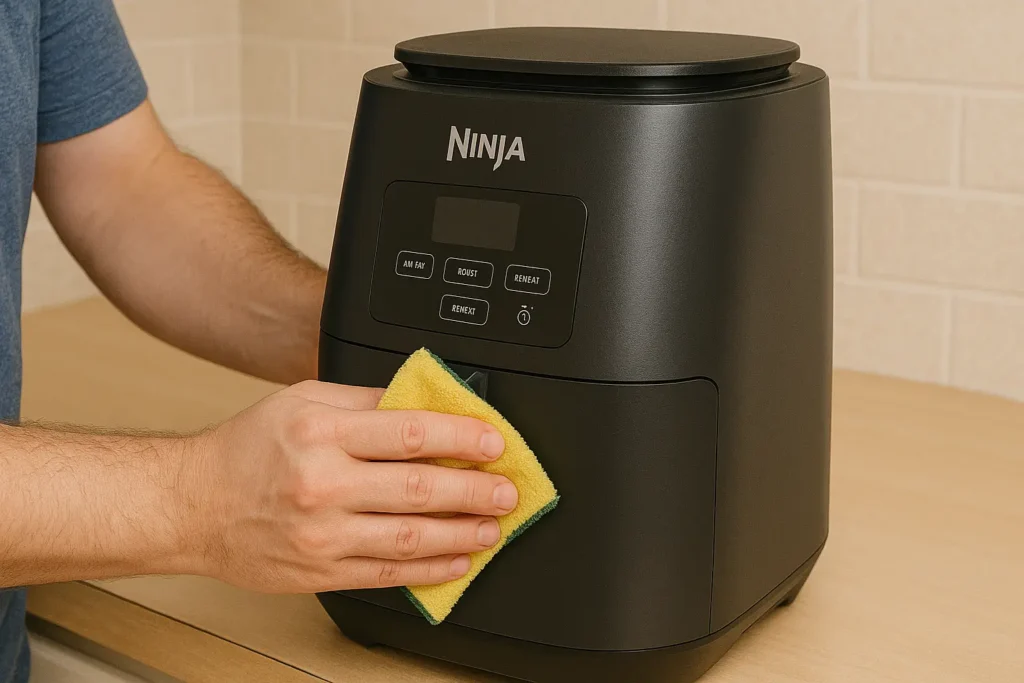
Step 5: Clean the Exterior
The exterior cleaning is often overlooked when people learn how to clean ninja air fryer, but it’s important for both appearance and hygiene. Use a damp microfiber cloth to wipe down all exterior surfaces, including the control panel, handle, and cord.
For the control panel, be extra careful not to let water seep into the buttons or display. A slightly damp cloth should be sufficient. If there are fingerprints or grease spots, a small amount of gentle cleaner on your cloth can help remove them.
Don’t forget to clean the bottom of the unit and the area where it sits on your counter. Grease and food particles can accumulate here over time.
Step 6: Dry Everything Thoroughly
Proper drying is crucial when learning how to clean ninja air fryer correctly. Use clean, dry towels to thoroughly dry all components before reassembling. Pay special attention to areas where water might collect, such as the corners of the basket and around the heating element area.
Allow all parts to air dry for a few minutes after towel drying to ensure no moisture remains. Moisture left in the unit can lead to mold growth or electrical issues.
Step 7: Reassemble Your Clean Air Fryer
Once everything is completely dry, carefully reassemble your Ninja air fryer. Make sure all parts fit properly and securely. The basket should slide in smoothly, and any accessories should sit firmly in their designated spots.
Before using your freshly cleaned air fryer, plug it in and run it empty for 2-3 minutes at a low temperature. This helps evaporate any remaining moisture and ensures everything is working properly.
Deep Cleaning Your Ninja Air Fryer: When and How
Sometimes regular cleaning isn’t enough, and your Ninja air fryer needs a deeper clean. This is especially true if you use it frequently or cook particularly greasy foods. Learning how to clean ninja air fryer thoroughly includes knowing when and how to perform this deeper maintenance.
Signs Your Air Fryer Needs Deep Cleaning
You should perform a deep clean when you notice:
- Persistent odors even after regular cleaning
- Visible grease buildup that won’t come off with normal washing
- Smoke production during cooking (after ruling out overcrowding)
- Decreased cooking performance or uneven results
- Food tasting different than usual
Deep Cleaning Process
Start with the regular cleaning steps, then focus on problem areas with these techniques:
For Heavy Grease Buildup: Create a solution of equal parts white vinegar and warm water. Use this to wipe down interior surfaces, letting it sit for 10-15 minutes before wiping clean. The acidity in vinegar helps break down grease naturally.
For Burnt-On Food: Make a paste with baking soda and lemon juice. Apply this to burnt areas and let it sit for 20 minutes. The combination creates a gentle fizzing action that helps lift stubborn residue. Scrub gently with a soft brush, then wipe clean.
For Persistent Odors: After cleaning, place a bowl of activated charcoal or baking soda inside the air fryer overnight (while unplugged). This helps absorb lingering odors naturally.
Cleaning Different Ninja Air Fryer Models
Different Ninja air fryer models have specific features that affect how to clean ninja air fryer properly. Here’s what you need to know about popular models:
Ninja Foodi Air Fryers
The Ninja Foodi combination units have additional components like pressure cooking lids and sealing rings. These require special attention:
- Remove and clean the sealing ring separately
- Clean the pressure release valve carefully
- Wipe down the lid interior and exterior thoroughly
- Check that all components are completely dry before reassembling
Ninja Air Fryer Max XL
The larger Max XL models have bigger baskets and more surface area to clean:
- The larger basket may require longer soaking time
- Use a larger sink or clean in sections if necessary
- Pay extra attention to the corners where grease can accumulate
- The bigger heating element area needs careful cleaning
Ninja Dual Zone Air Fryers
These models with two separate cooking zones require cleaning both sides:
- Clean each basket and zone separately
- Check the divider for food particles
- Ensure both heating elements are clean
- Clean the center area where the two zones meet
Common Ninja Air Fryer Cleaning Mistakes to Avoid
Learning how to clean ninja air fryer includes knowing what NOT to do. These common mistakes can damage your appliance or reduce its lifespan:
Using Harsh Chemicals
Never use bleach, oven cleaner, or other harsh chemicals on your Ninja air fryer. These can damage the non-stick coating and leave harmful residues that could transfer to your food.
Submerging the Main Unit
The main unit contains electrical components and should never be submerged in water. This can cause permanent damage and create safety hazards.
Using Abrasive Tools
Steel wool, abrasive sponges, and harsh scrubbers can scratch and damage the non-stick surfaces. Once these surfaces are damaged, they become harder to clean and may need replacement.
Forgetting to Clean the Heating Element Area
Many people focus on the basket but neglect the area around the heating element. This area can accumulate grease and affect performance if not cleaned regularly.
Reassembling While Wet
Putting your air fryer back together before everything is completely dry can lead to mold growth, electrical issues, and unpleasant odors.
Maintaining Your Ninja Air Fryer Between Deep Cleans
Proper maintenance makes learning how to clean ninja air fryer much easier in the long run. These daily and weekly habits will keep your appliance in top condition:
After Each Use
- Wipe down the exterior while the unit is still warm (but not hot)
- Remove crumbs and loose food particles from the basket
- Let the unit cool completely before storing
- Leave the basket out to air dry if it’s still slightly damp
Weekly Maintenance
- Perform a thorough cleaning even if the air fryer doesn’t look dirty
- Check for any unusual odors that might indicate hidden buildup
- Inspect the cord and plug for any damage
- Clean the area around your air fryer on the counter
Monthly Deep Maintenance
- Perform the deep cleaning process described earlier
- Check all removable parts for wear or damage
- Clean behind and under the unit
- Review your cleaning supplies and replace as needed
Troubleshooting Common Cleaning Challenges
Sometimes, even when you know how to clean ninja air fryer properly, you might encounter specific challenges. Here’s how to handle them:
Stubborn Grease That Won’t Budge
If regular cleaning isn’t removing all the grease, try this method:
- Create a paste with baking soda and dish soap
- Apply to the greasy areas and let sit for 30 minutes
- Use a soft brush to work the paste into the grease
- Rinse thoroughly and dry completely
Burnt Food Particles Stuck in Basket Holes
For food stuck in the basket’s holes:
- Soak the basket in warm water for 30 minutes
- Use a soft-bristled toothbrush to gently work particles loose
- Work from the inside of the basket outward
- Rinse thoroughly to remove all loosened particles
Lingering Cooking Odors
To eliminate persistent odors:
- Clean the unit thoroughly using the deep cleaning method
- Place a small bowl of white vinegar inside overnight
- The next day, wipe down with a baking soda solution
- Run the unit empty for 5 minutes to air it out
Water Spots on Stainless Steel
If your Ninja air fryer has stainless steel components with water spots:
- Use a microfiber cloth dampened with white vinegar
- Wipe in the direction of the steel’s grain
- Dry immediately with a clean, dry cloth
- Polish with a small amount of olive oil if desired
When to Replace Parts vs. Deep Clean
Knowing how to clean ninja air fryer also means recognizing when parts need replacement rather than just cleaning:
Signs You Need New Parts
- Non-stick coating is visibly peeling or flaking
- Plastic parts are cracked or warped
- Metal components show signs of rust
- Persistent odors that won’t go away even after deep cleaning
- Baskets or trays that no longer fit properly
Extending Part Life
To make your Ninja air fryer parts last longer:
- Clean immediately after each use when possible
- Avoid cooking sprays that can build up over time
- Use silicone or wooden utensils instead of metal
- Store parts properly to prevent damage
- Handle all components gently during cleaning
Health and Safety Considerations
Proper cleaning isn’t just about performance—it’s about keeping your family safe. When you learn how to clean ninja air fryer correctly, you’re also learning important food safety practices:
Preventing Bacterial Growth
Bacteria thrive in warm, moist environments with food particles. Regular cleaning prevents this growth and keeps your food safe. Pay special attention to areas where grease and food particles accumulate.
Avoiding Cross-Contamination
If you cook different types of food in your air fryer, proper cleaning between uses prevents cross-contamination. This is especially important when switching between raw and cooked foods or when cooking for people with food allergies.
Identifying Potential Hazards
During cleaning, watch for signs that might indicate safety issues:
- Frayed or damaged power cords
- Cracks in the main unit
- Loose or wobbly components
- Unusual smells that persist after cleaning
The Environmental Impact of Proper Cleaning
Learning how to clean ninja air fryer properly also has environmental benefits. Regular maintenance extends the life of your appliance, reducing electronic waste. Using natural cleaning solutions like vinegar and baking soda is better for the environment than harsh chemicals.
Additionally, a clean air fryer operates more efficiently, using less energy to achieve the same cooking results. This small efficiency gain adds up over time, reducing your overall energy consumption.
Creating a Cleaning Schedule That Works
Consistency is key when it comes to how to clean ninja air fryer effectively. Create a schedule that fits your usage patterns:
Light Users (1-2 times per week)
- Quick wipe after each use
- Thorough cleaning weekly
- Deep clean monthly
Regular Users (3-5 times per week)
- Clean removable parts after each use
- Wipe interior and exterior every 2-3 uses
- Deep clean every 2 weeks
Heavy Users (Daily use)
- Clean after each use
- Deep clean weekly
- Replace parts as needed more frequently
Professional Tips from Kitchen Appliance Experts
Here are some insider tips on how to clean ninja air fryer from appliance professionals:
- Pre-treat heavily soiled areas: Before general cleaning, apply a paste of baking soda and water to problem spots and let it work for 15 minutes.
- Use the right water temperature: Warm (not hot) water is most effective for cutting through grease without setting stains.
- Clean in the right order: Always clean from top to bottom and inside to outside to avoid recontaminating clean areas.
- Don’t rush the process: Taking your time ensures thorough cleaning and prevents damage from rushing.
- Keep spare parts handy: Having backup baskets or accessories allows you to keep cooking while others are being deep cleaned.
Conclusion: Mastering Ninja Air Fryer Care
Learning how to clean ninja air fryer properly is an investment in both your appliance’s longevity and your family’s health. With the right techniques, supplies, and schedule, keeping your Ninja air fryer clean becomes a simple part of your kitchen routine.
Remember that regular maintenance is always easier than dealing with heavy buildup later. By following the steps outlined in this guide, you’ll ensure that your Ninja air fryer continues to deliver delicious, crispy results for years to come.
The key to success is consistency. Start with these techniques today, and soon cleaning your Ninja air fryer will become second nature. Your taste buds—and your air fryer—will thank you for the extra care and attention.
Whether you’re dealing with everyday maintenance or tackling a deep clean, these proven methods will help you keep your Ninja air fryer in perfect working condition. Clean cooking starts with a clean appliance, and now you have all the tools and knowledge you need to make it happen.